Dive Deeper -- Analyze real mode binaries like a Pro with Qiling Framework
Introduction
Analyzing a real mode binary like DOS executables or MBR code is never an easy task. The best approach we have is to utilize Bochs, QEMU or Dosbox to emulate such binaries with some debuggers like gdb, debug.exe and IDA Pro. But that’s the situation before Qiling Framework. Now we proudly annouce the 16bit emulation support of Qiling Framework, shipped with the ability to analyze the binary in multiple dimensions.
This post will serve as an introduction of how real mode emulation is implemented as well as a basic tutorial of the whole Qiling Framework.
For Chinese version, see here.
Unicorn
Before talking of Qiling, I’d like to introduce the Unicorn Engine briefly since Qiling is based on it. Unicorn is a pure CPU emulator forked from QEMU. Compared to QEMU, Unicorn has some key features:
- Platform independent.
- Friendly & Straigtforward API design, very very easy to understand and use.
- Dynamic hook.
- Much faster to build. :D
But as stated just now, Unicorn is a PURE CPU emulator without any awareness of operating systems built on it and here comes Qiling.
Qiling
Sometimes, I also don’t know how to explain what Qiling exactly is. —- Lau Kaijern, the creator of Qiling Framework.
Well, indeed, it’s really hard to define Qiling in a brief sentence. To have a full understanding of Qiling, I’d like to describe the functions of Qiling Framework in four aspects: emulation, analysis, debugger, extensions.
Emulation
The most basic function of Qiling is emulation but that’s is different from Unicorn. As stated just now, Unicorn is a CPU emulator while Qiling is an OS emulator. Below is a simple figure to show the relation between a native application and an emulated application.
1 | |-------| |---------| |
Usually, a native application runs in a specific OS environment which provides various API and the underlying hardware is a CPU. For a Qiling emulated application, the architecture is pretty similar: Unicorn serves as a CPU emulator while Qiling does the OS work and executes the target binary. To achieve this, Qiling has three layers.
1 | |--------| --- |
archlayer setups many CPU-spefic settings, like endianess, registers etc.loaderlayer parses the target binary, setups memory layout and loads codes into the memory like the real executable loaders do.oslayer is the most important part and provides the implementation of syscalls.
HI.COM example
Let’s takes DOS and HI.COM as an example to illustrate how these layers cooperate to emulate an OS.
For arch layer, we assume the CPU is 8086 which is quite simple and thus only some basic setup like registers mapping needs to be done.
COM files are simply a memory image without any header so the implementation of the loader layer is extremely simple: allocate enough memory, write the whole file and set PC and stack.
For os layer, all the work Qiling needs to do is to implement as many interrupts as possible. Below is the source of HI.COM:
1 | mov ah,9 |
When Unicorn executes INT 21, it doesn’t konw the exact meanings of this interrupt so it will call hooks defined in os layer. Below is how os layer implement this interrupt:
1 | def int21(self): # Handler for INT 21 |
That’s all things Qiling does to emulate a DOS COM executable. Quite simple, right?
Petya example
In practice, to emulate a 16bit binary, most of my work is to implement interrupts in a proper way. For instance, Petya is a virus which write itself to the Master Boot Record(MBR). It largely depends on BIOS INT 10 graphics service. The counterpart in modern terminal is curses so I spent lots of time translating old-days graphics commands to curses calls. Take INT10, 0 as an example:
1 | def int10(self): |
As the saying goes, “Simple is better”. Nowadays, terminal has become much more complicated than past screen. As a result, to implement a dummy screen is rather difficult since there are too many corner cases.
Emulate but differently
Maybe some readers have noticed that the emulation here dosen’t act the same as a real DOS does. Yes, that’s true for Qiling. The perfect and fast emulation is never the primary goal for Qiling. What Qiling focuses on is to provice our users with max convenience for binary analysis. I will talk about that in following sections.
Also note that Qiling is designed to platform-independent, which means users can run a Linux ELF on Windows or a Windows exe on Mac OS. It’s impossible for QEMU to achieve that because QEMU will forward syscalls to host machine.
Analysis
Qiling is far beyond a simple emulator. It also provides a bunch of powerful API.
fs_mapper
Let’s begin with fs_mapper (since it was refactored by me a few days ago XD):
1 | #!/usr/bin/env python3 |
The source code of the target binary x86_fetch_urandom:
1 | // Souce: https://github.com/qilingframework/qiling/blob/dev/examples/src/linux/fetch_urandom.c |
This program simply fetches 1 byte from /dev/urandom which should always return random bytes stream on a real Linux system. However, with ql.add_fs_mapper("/dev/urandom", Fake_urandom()), we can hijack such read operations and return a fixed value.
Except for device file, fs_mapper can also emulate a raw disk. Below is the emulation code for Petya.
1 | #!/usr/bin/env python3 |
0x80 is the disk index used in real mode. For Linux and Windows, it can be /dev/sda or \\.\PHYSICALDRIVE0. QlDisk is a class which provides some basic support for a raw disk image, like cylinders, heads and sectors. The reason why emulating petya needs a disk mapping is that Petya uses BIOS INT 13 disk service to read/write disks directly. To implement such interrupts, it’s necessary to map a file to a disk in our emulated environment.
syscall hijacking
Another example is syscall hijacking. Below is an example from docs:
1 | from qiling import * |
Since Qiling itself serves as the OS environment, it’s quite easy to expose any syscall to users for further analysis.
snapshot & partial executaion
Snapshot allows you to save or restore the context of a program including CPU registers, memory content and even file descriptors. With partial execution support from Qiling, snapshots can enable users to fully control a program and test any code with proper context. Below is an example from Petya analysis.
1 | def one_round(ql: Qiling, key: bytes, key_address): |
In the code above, we prepare the stack firstly, and take a snapshot. After that, we write the key as function arguments and call the verfication function directly. If the result suggests the key is wrong, we restore the context and try again.
There are also other tons of features that I can’t introduce here due to the limit of space. If you are interested, please refer to documents. In a word, all theses powerful API makes Qiling a real dynamic instrumentation framework and distinct from other emulators.
Debugger
As we know, QEMU supports gdb remote debugging by gdbserver. How could Qiling not support that?
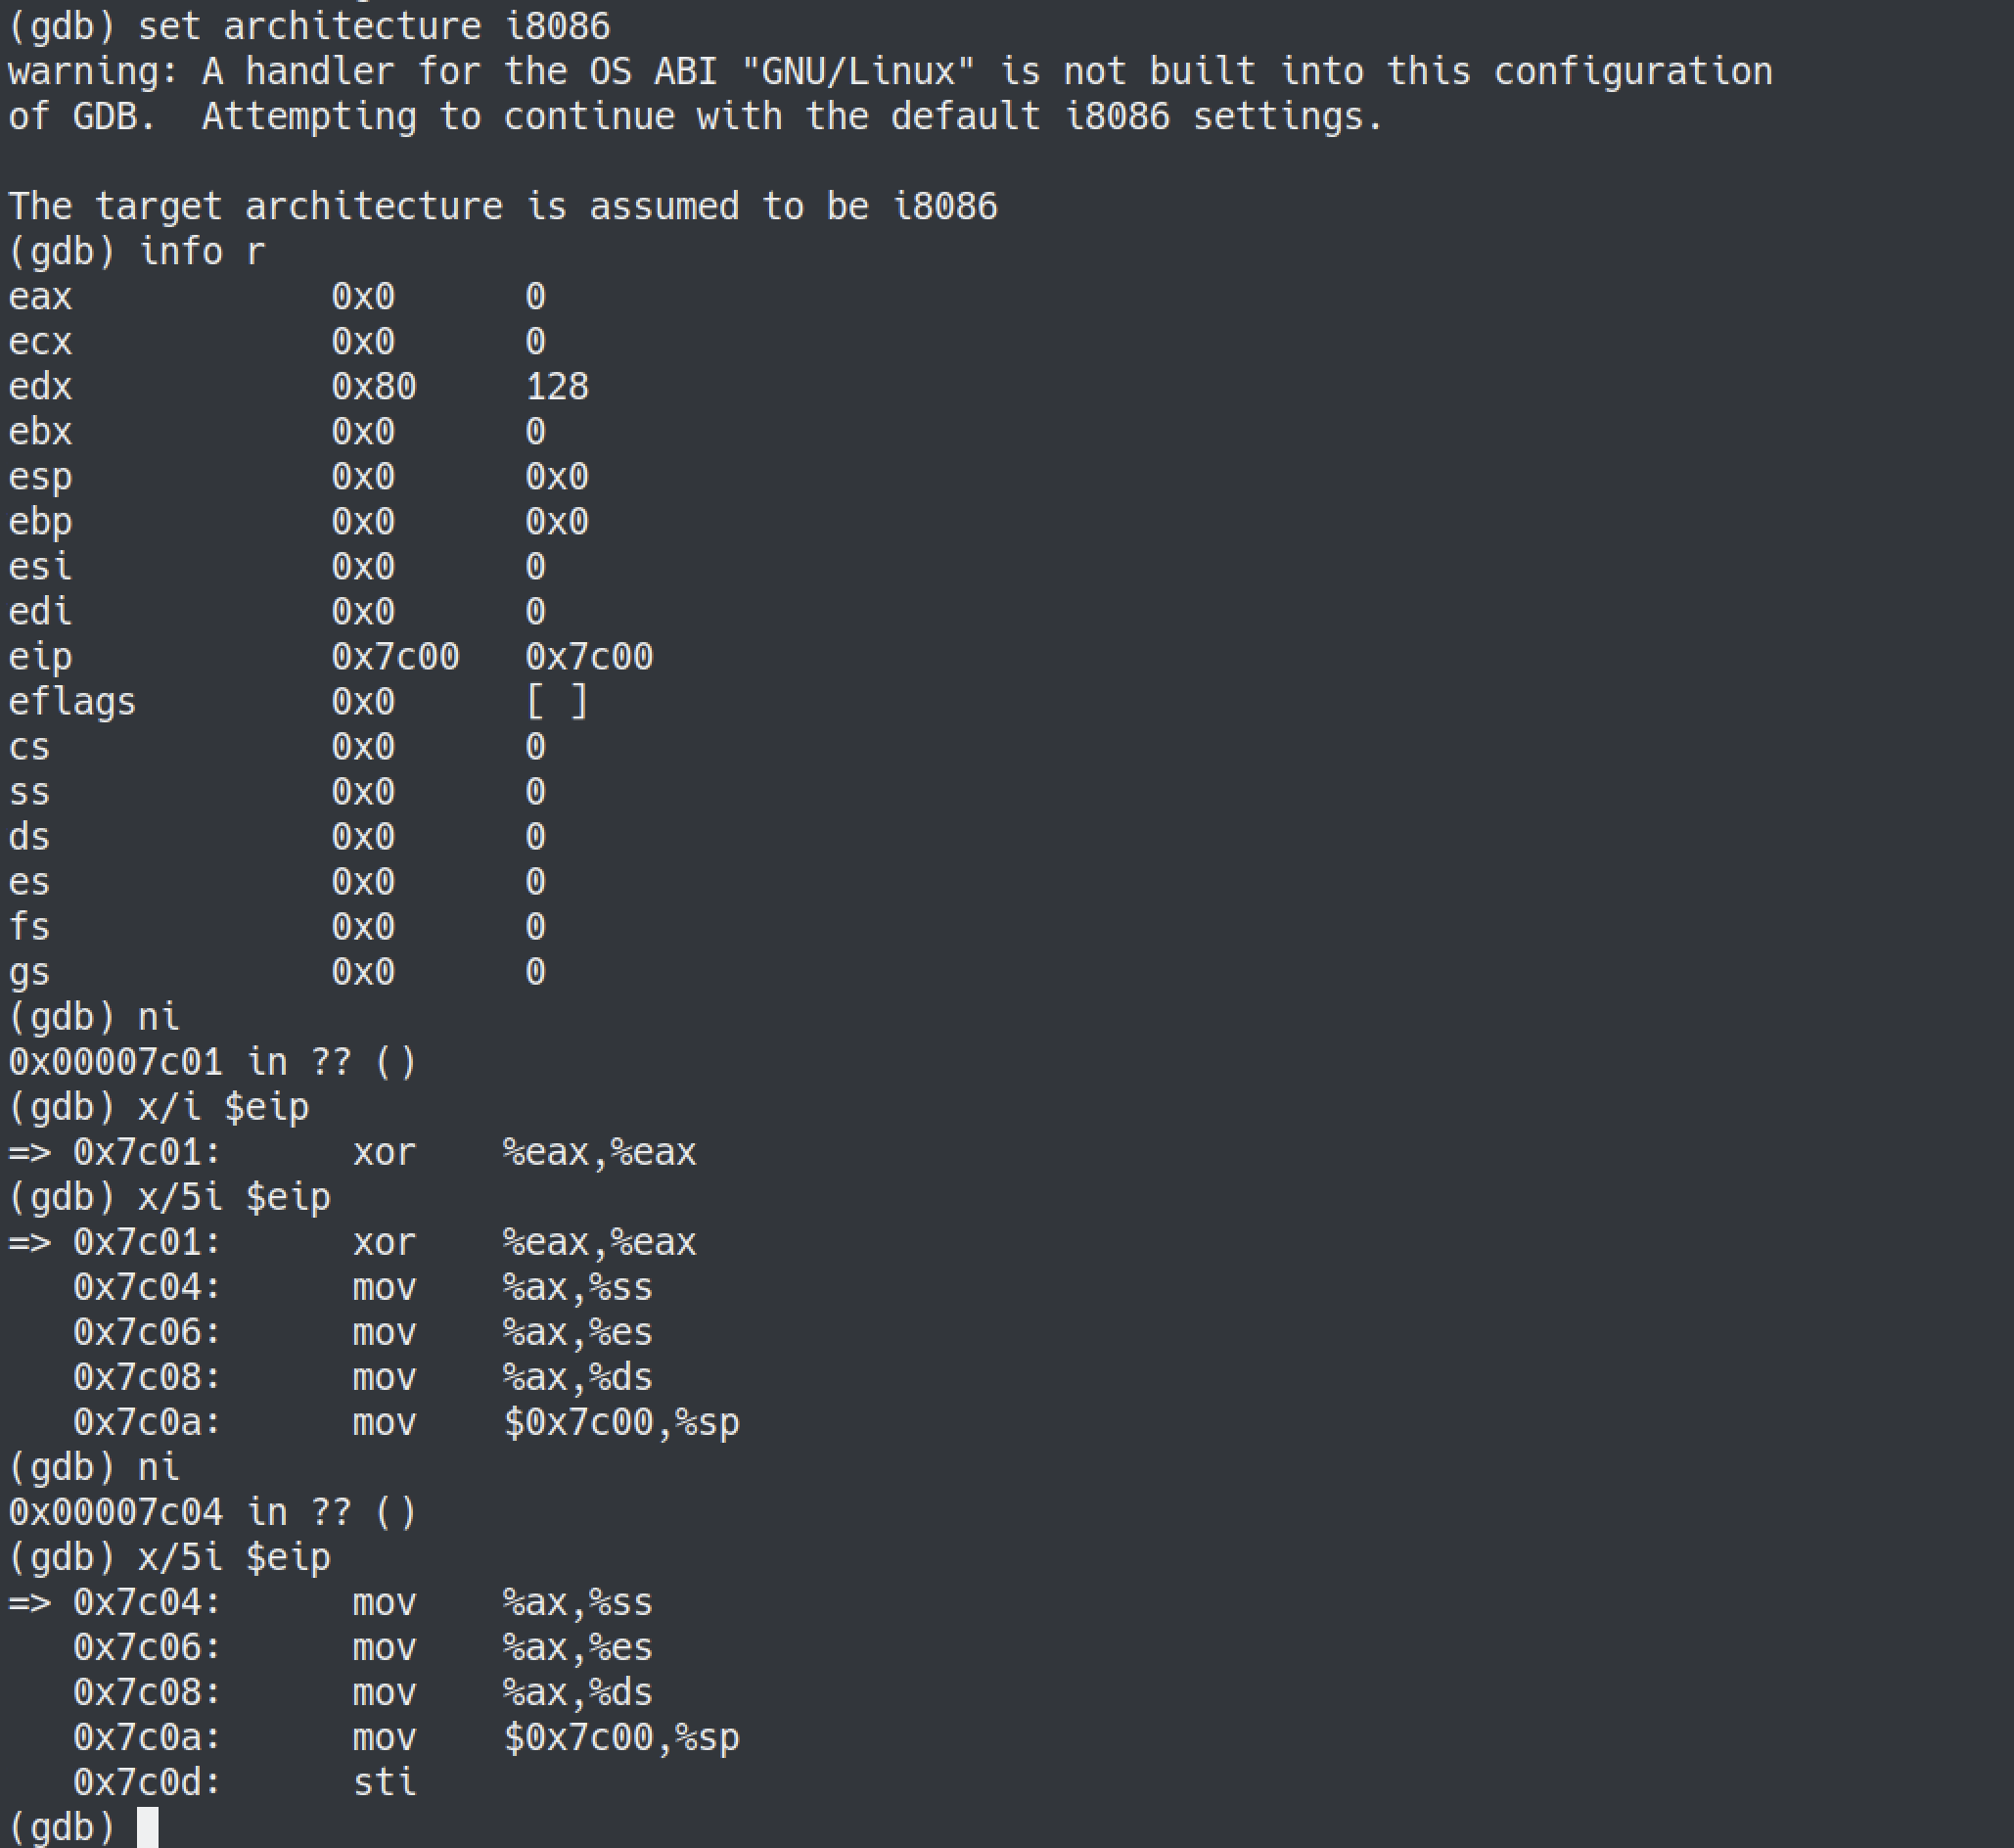
As the time of writing the post, the Qiling debugger is still under heavy development but the support of 16bit debugging has been done. Simple add ql.debugger = True and connect gdb to 127.0.0.1:9999. Below is a screenshot.
Extensions
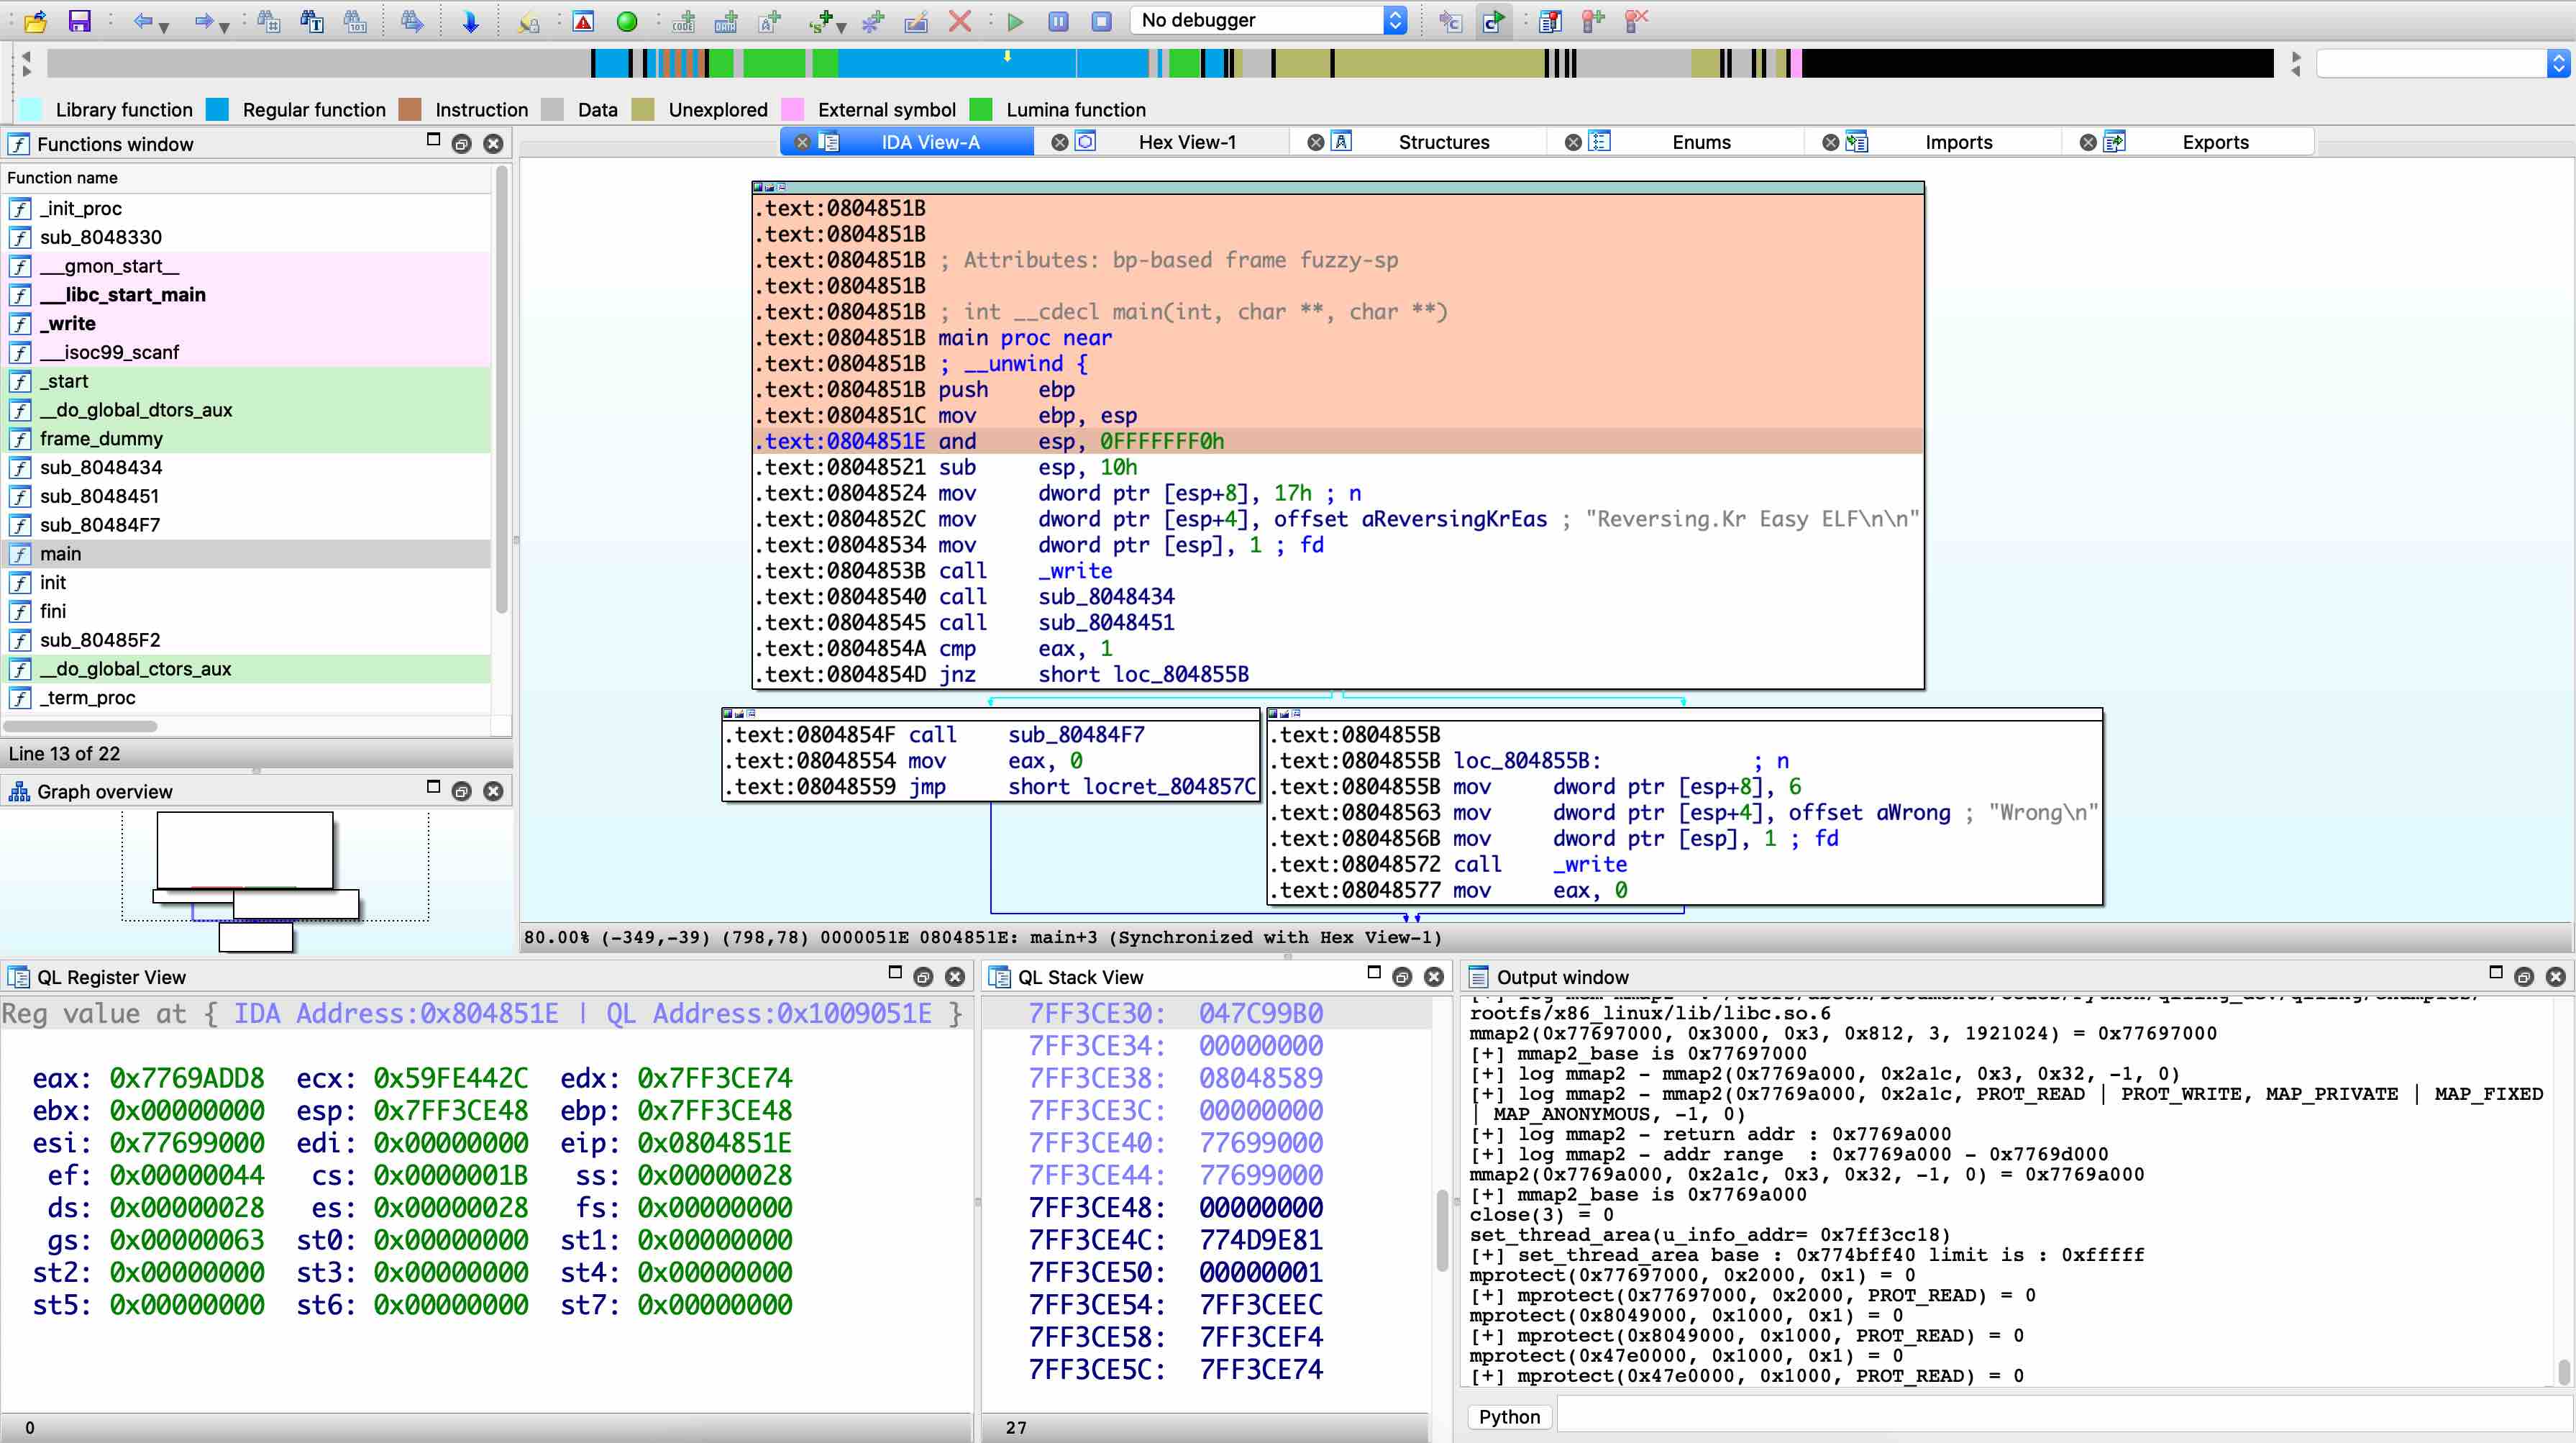
Currently, Qiling is on a move to decouple some logic to standalone extensions. One of our latest work is IDA plugin. Below is a screenshot.
Oh, oh, I guess you guys are all experts at command lines and terminal, does that GUI really make sense?
Yes! Thanks to Qiling IDA plugin, at least you don’t need to buy a Linux IDA license since you can run a Linux ELF on your Windows/Mac OS, does it?
There are also some other interesting extensions under qiling/extensions directory Please refer to corresponding README or documents for details.
Summary
Qiling Framework is an ambitious project. Our final goal is to make a Swiss Knife like analysis framework, lift the restrictions like the boundraries between different operating systems and provide security engineers with the best experience. Nothing could stop us from diving deeper in binary analysis!
Nevertheless, Qiling Framework is far from perfect. Give us a star at here and join our development! We are looking forward to merging your first PR!
PS
Qilingis a spelling mistake indeed. It should beQilin. Whatever :P- In fact, it’s almost impossible to crack full Petya key by brute force in an acceptable period of time. Here we simply show the usage of Qiling API.
- IDA 7.0 doesn’t have Python3 support, but Ghidra support is on the way!
- TLDR: Star us!